🍞 Preventing Mold in Your Sourdough Starter: A Step-by-Step Guide 🥖
Are you tired of dealing with mold in your sourdough starter? Don't worry, we've got you covered! In this step-by-step guide, we will walk you through the process of preventing mold in your sourdough starter. Follow these simple tips and techniques to keep your starter healthy and mold-free.
Step 1: Choose the Right Container
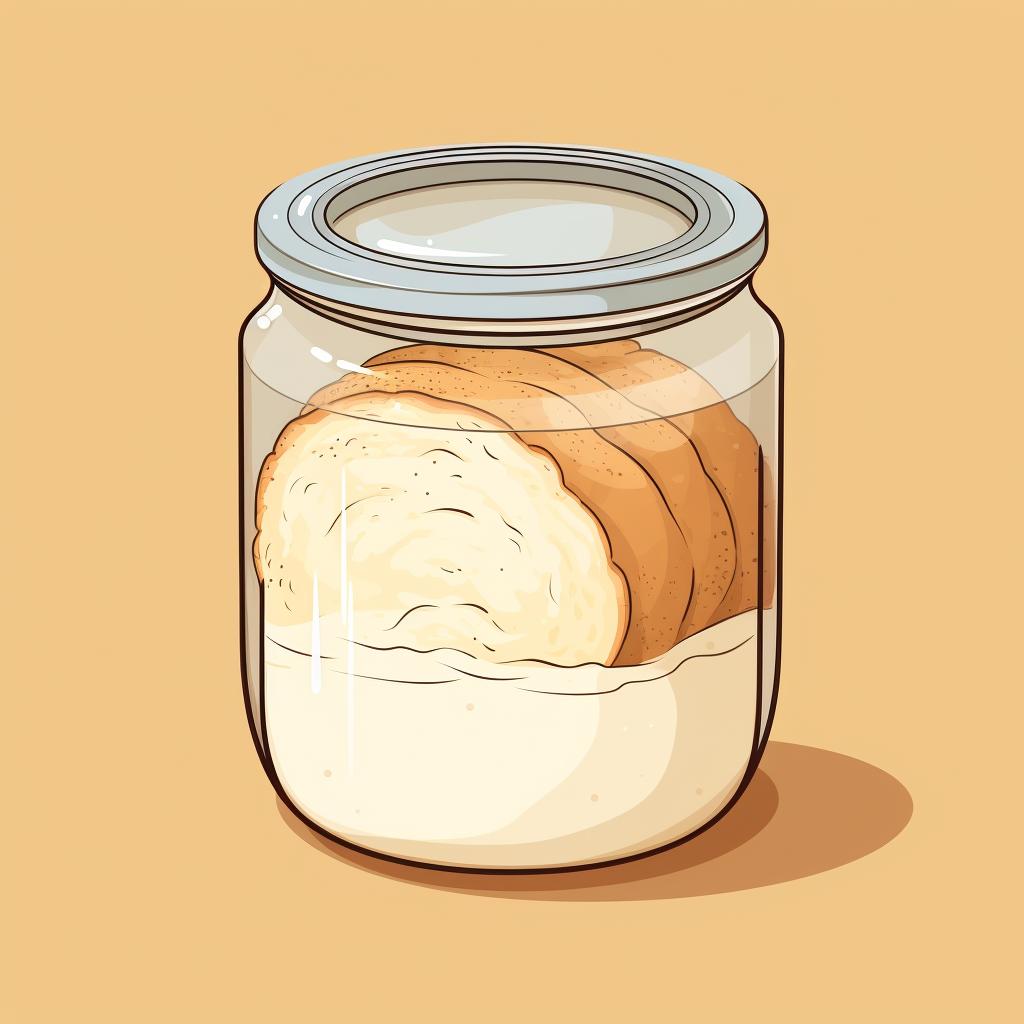
To start off, select a glass or ceramic container for your sourdough starter. Avoid using plastic or metal containers as they can react with the starter. It's important to choose a container that is large enough to allow the starter to expand as it ferments. This will prevent any overflow and mess.
Step 2: Keep Your Container Clean
Before adding your starter, make sure your container is clean. Any residue from previous batches can cause contamination and lead to mold growth. Rinse the container with hot water and let it dry completely before adding your starter. This simple step will help maintain a clean and healthy environment for your starter.
Step 3: Store in a Cool, Dark Place
The storage location of your sourdough starter plays a crucial role in preventing mold. Find a cool, dark place in your kitchen, such as a cupboard or pantry, to store your starter. Avoid areas with high humidity or direct sunlight, as these conditions can encourage mold growth. By providing the right environment, you can keep mold at bay and ensure the longevity of your starter.
Step 4: Regular Feeding
Regular feeding is essential for a healthy sourdough starter. This involves adding equal parts flour and water to your starter. Regular feeding keeps the yeast and bacteria in the starter active, making it less susceptible to mold. Make it a habit to feed your starter at least once a day, or as often as your recipe requires.
Step 5: Stir Your Starter
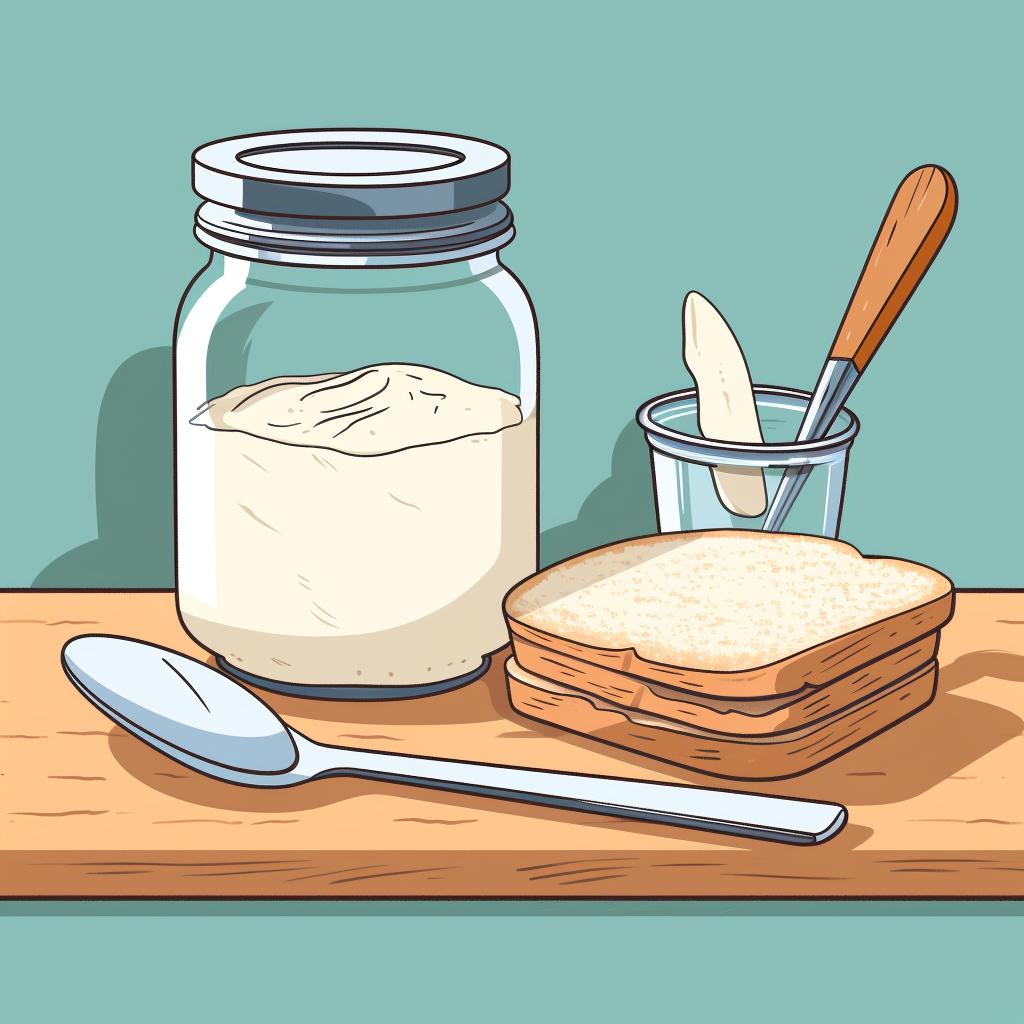
Stirring your sourdough starter daily is another important step in preventing mold. By stirring, you help distribute the yeast and bacteria evenly throughout the starter, discouraging mold from forming on the surface. Use a clean wooden spoon to gently stir your starter, ensuring that it remains well-mixed and mold-free.
Step 6: Use Clean Utensils
When handling your sourdough starter, always use clean utensils. This includes the spoon you use to stir the starter and the cup you use to measure the flour and water. Dirty utensils can introduce mold spores into the starter, leading to contamination. By using clean utensils, you maintain a hygienic environment for your starter.
By following these simple steps, you can prevent mold in your sourdough starter and enjoy the process of bread making without any worries. Remember, a healthy starter is the key to delicious sourdough treats. So, keep your container clean, store it in the right place, feed it regularly, stir it daily, and use clean utensils. Happy baking!
For more information on how to revive a moldy sourdough starter, check out our guide on reviving a moldy sourdough starter.
If you want to learn about common mistakes to avoid when making a sourdough starter, our guide on common mistakes to avoid is a must-read.
Looking for tips on how to feed a sourdough starter? Our guide on feeding a sourdough starter has got you covered.
For comprehensive information on sourdough starter jar maintenance, check out our guide on mastering sourdough starter jar maintenance.
Curious about the best container for storing a sourdough starter? Our guide on storing a sourdough starter will help you make the right choice.
For more tips and techniques on maintaining a healthy sourdough starter, our guide on feeding and maintaining a sourdough starter is a valuable resource.


